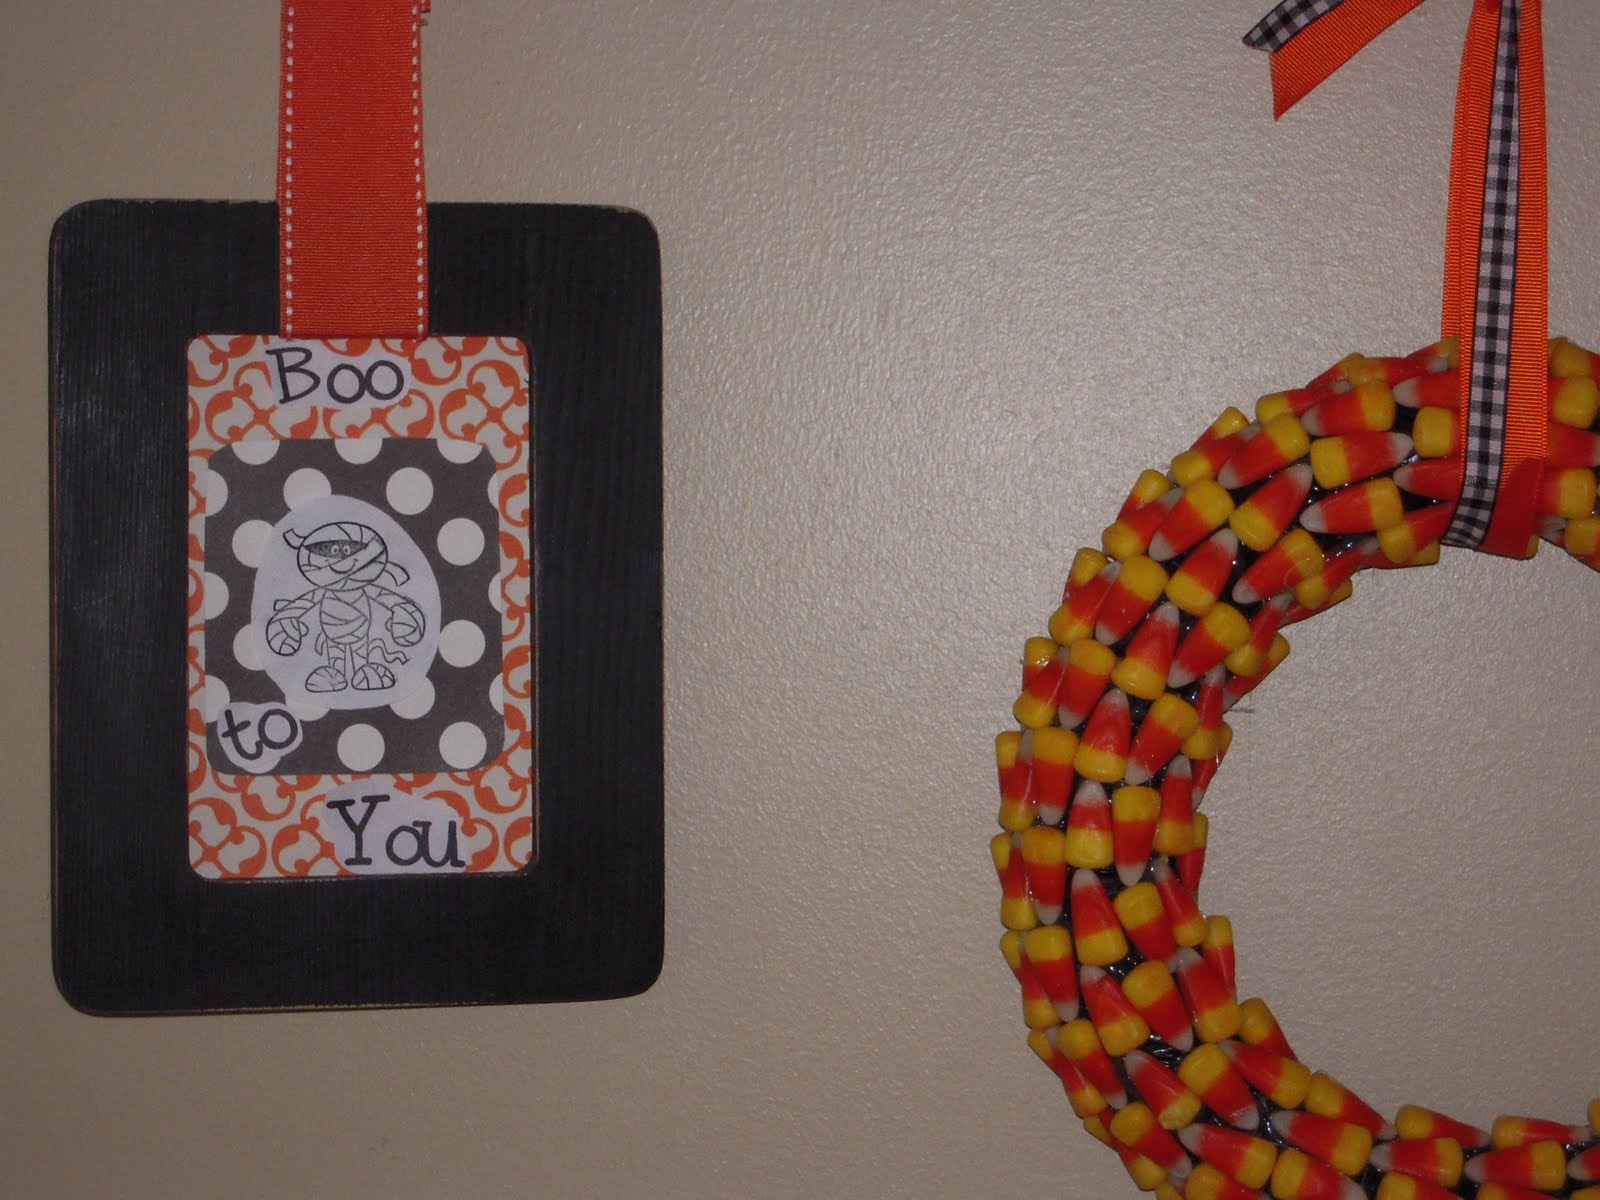
I love decorating especially for the holidays. I have a small decorating budget...like almost nothing. So I have to get creative. Since the homestead is also small, I have a space budget too. One thing I have done to add holiday cheer is to switch out the ribbons and pictures in my front entry way. Here is our new Halloween decor. The wreath is made from a $1 foam wreath I picked up at the Dollar Store, I wrapped it with black duct tape, then hot glued the candy corn to it. It took about an hour while my hubby and I watched a movie. I found the idea here at
Woman's Day magazine.

For the pictures I took a piece of orange scrap book paper taped a piece of black and white scrap book paper to the orange. I bought two Halloween stamps for $1 each at Michael's I stamped white paper and printed out some sayings from my computer...I don't have a Silhouette so I have to use what I have. Then I just taped them all together and hung them with ribbon.


I love my wreath. I picked it up at Michael's on clearance it was a nautical themed wreath with shells, a wooden sign and and anchor for $5. I took everything off and then used the wreath for our Halloween stuff. The sign in the center I picked up at Walmart for $1 a few years ago. We wrapped it in fake spider webs and put spider rings all over it, then added a giant spider from Tai Pan which was $2 and that was it. Over the years it has picked up dried leaves which just add to the spooky look. The basket on our house we filled with mini pumpkins from a local pumpkin patch.

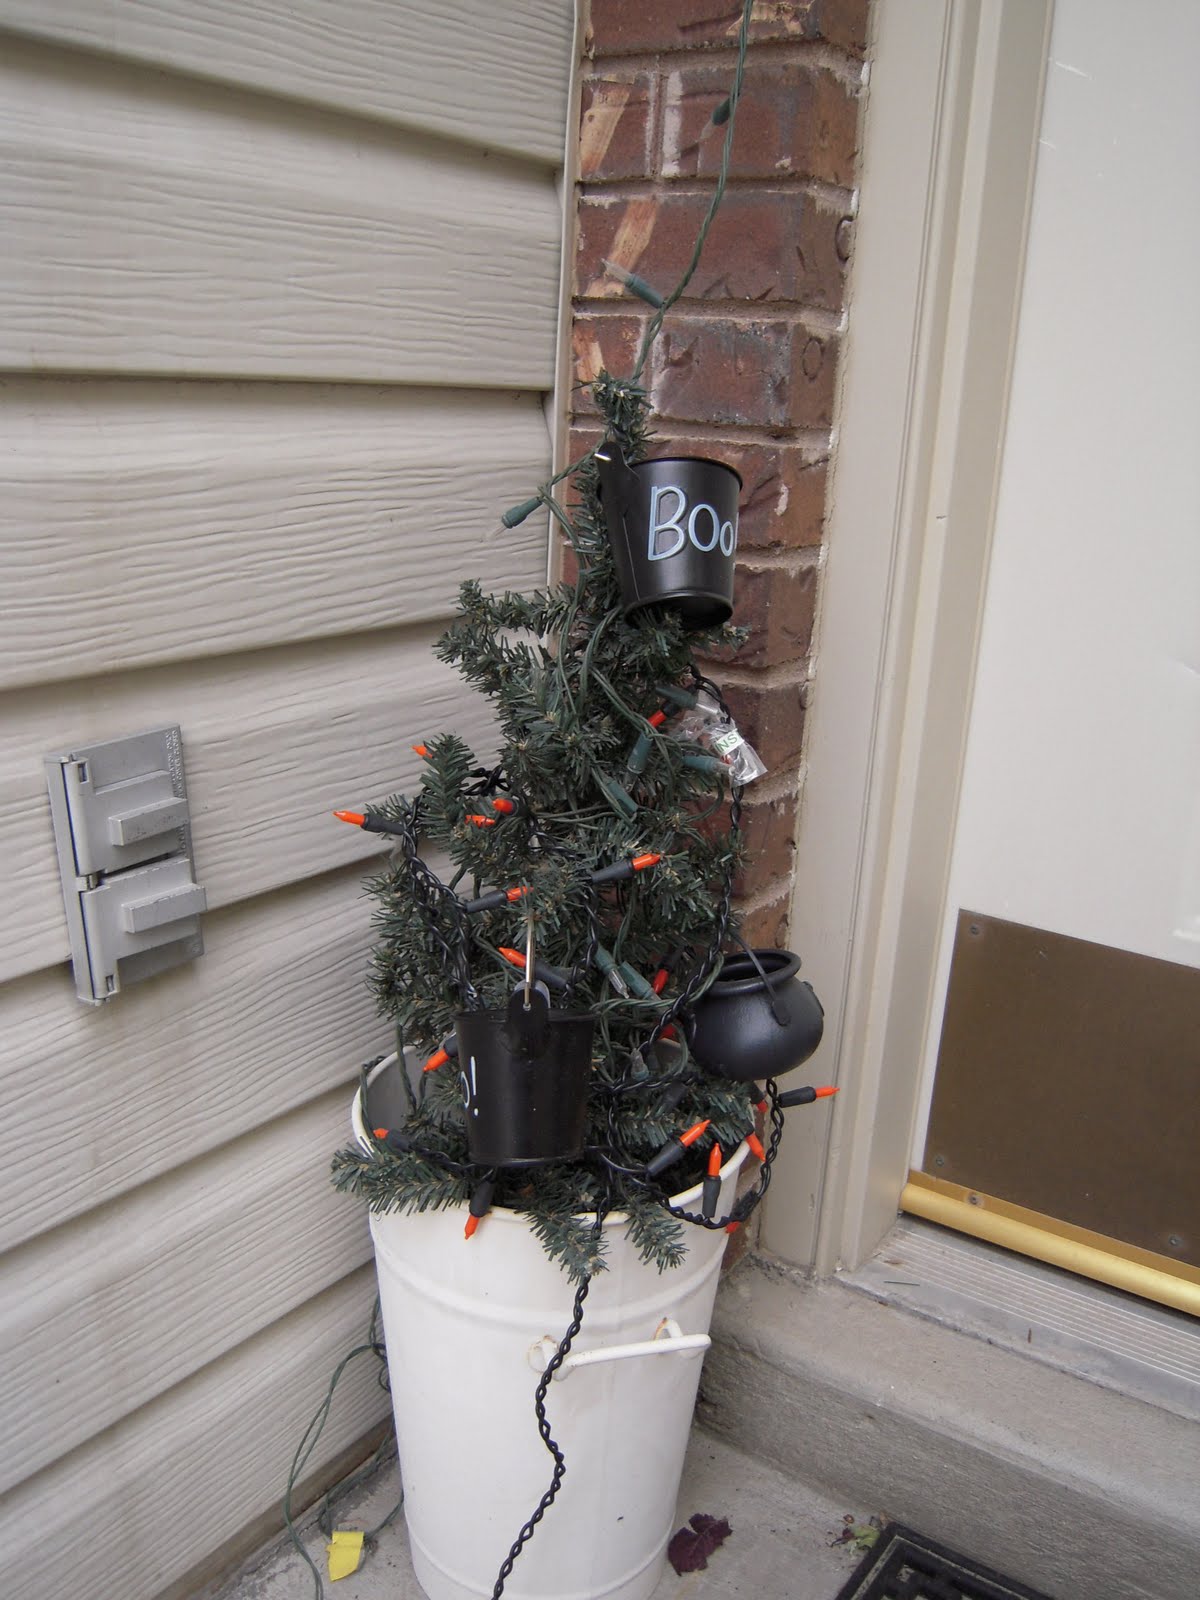
This isn't a very good picture, they actually look much cuter than they do here. I have three trees that I have to keep on my porch because I don't have room to store them. So I try to decorate them for the holidays. I put orange lights on them, that I had, and little witches buckets that we have collected from Halloween parties.

Our mantel has been fun. Another scrapbook paper and computer print off for the center picture. The skull, crow and headstone are from the $1 store. The pumpkin tree I picked up for .15 cents at a going out of business sale. The boxes say witches, cats and pumpkin seeds and are just painted black.

My favorite part of our mantel is the banner that Thing 1 made for Halloween. I think he did a great job.

I saw this idea here at the
Crafting Chicks blog...I took it to a more simple level. I picked up some black card stock, used metallic white paint for our hand prints and white crayons to list the name and year. I think we are going to do this every year and see how our hands have grown. It was so much fun.

I wanted to add something to our downstairs area, so I made a banner. I traced a circle with a vase on the scrapbook paper from our entry way. I used 2 pieces total for all the projects. Then stamped a haunted house and mummy on white paper and printed off the words Trick or Treat on my computer. I stapled the circles on black gross grain ribbon from the Dollar Store.

Here is the banner up close.


I wanted to add my pumpkins that I bought 3 for $1 at the pumpkin patch so I found a vase in my basement, filled it 1/4 full with black and white beans that I had, put in three pumpkins added some black ribbon and a Happy Halloween sign, with scraps of paper and from my computer. I thought it would be fun to trade out pictures of my kids with ones of them in their costumes from last year. They loved it and it made a fun and inexpensive Halloween addition.


So for all my new decor I spent $1.20 on scrapbook paper, $1.00 in ribbon, $3.00 in pumpkins and two stamps $2.00. Not bad for $7.20. Hope you found some ideas to use. Happy Haunting.
Em
 Then the paper cookies were served to my guests in takeout boxes with their names written on front in Japanese....I googled a website that converts English Letters to Japanese.